
Now that the images are loaded, if not you can go back to step 1, we are going to create an XSJS service to expose these employees pictures and employee data thru APIs.
XSJS will give us more flexibility than an oData service.
So first, we will create a backend on HANA in an XSJS script to expose APIs (one for pictures, and one for data) and then once is this done, we’ll define a destination in SAP Cloud Platform, and eventually create an HTML / JS web page on SAP Cloud Platform to consume these APIs. All of this is explained in the video below.
Let’s get started with the XSJS script :
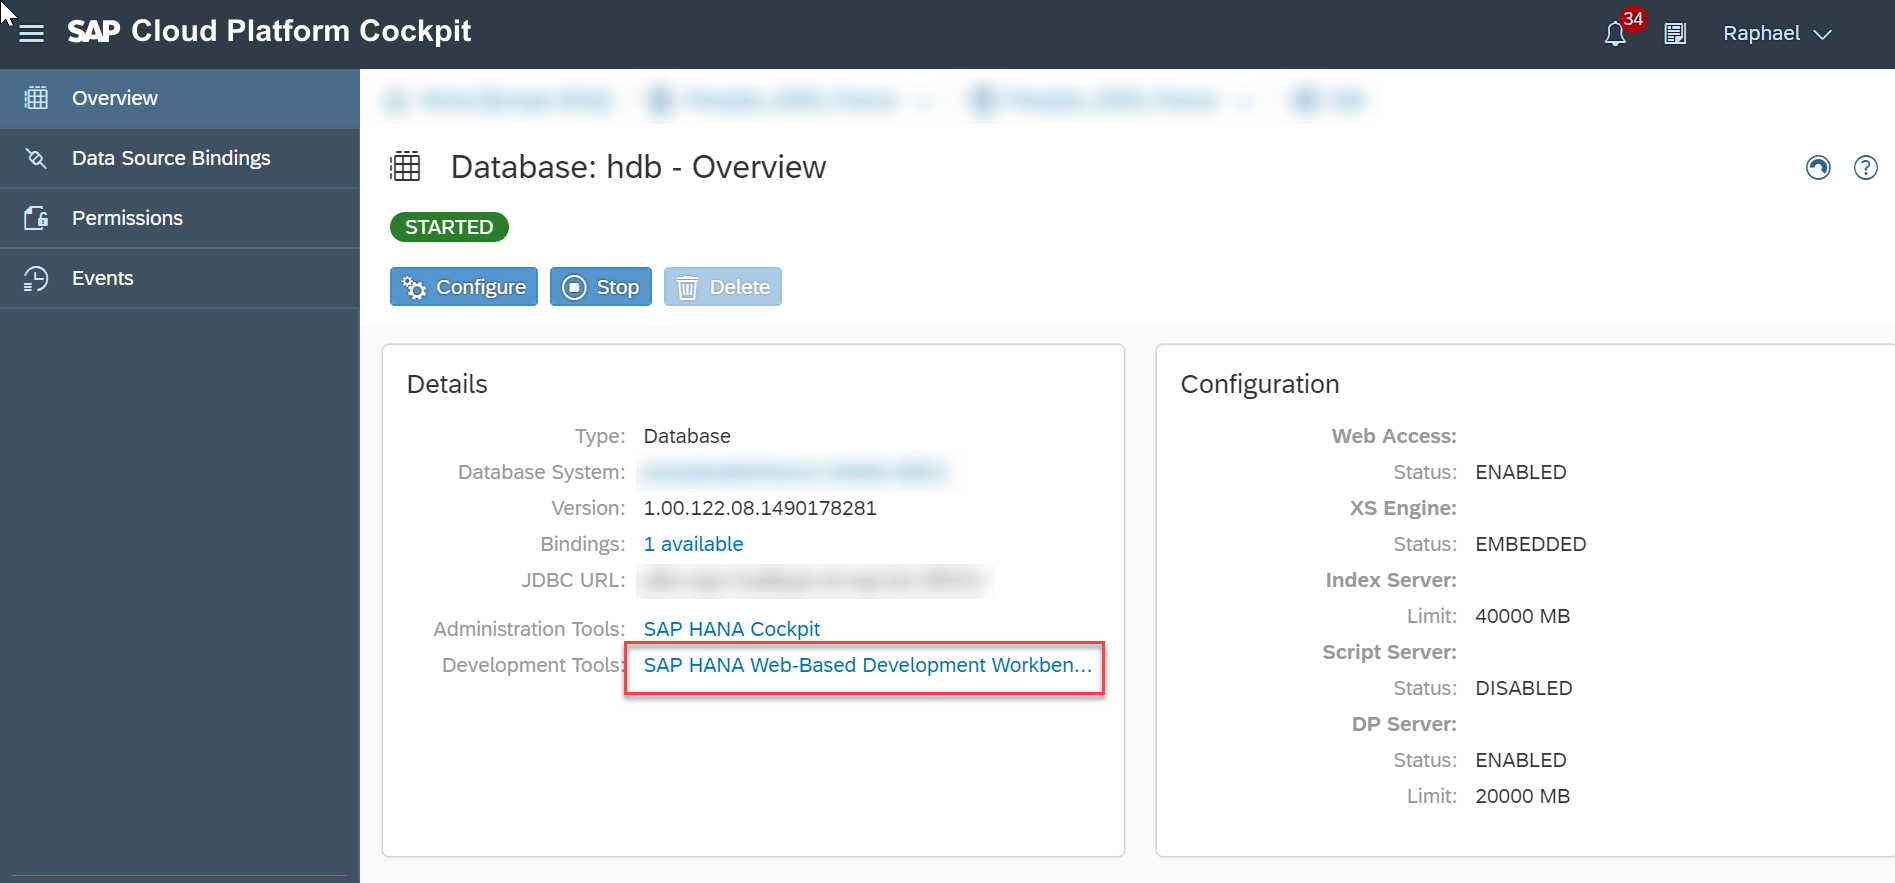
First launch the SAP HANA Web-Based Development Workbench:
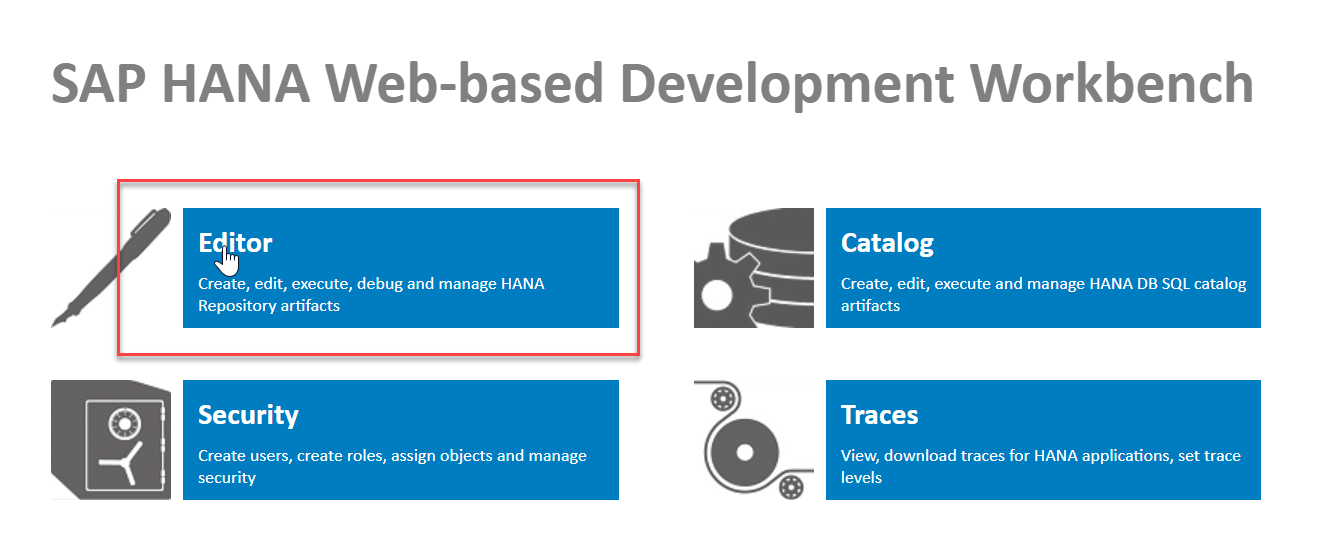
Open the editor
Create a package and the following files, .xsaccess, .xsapp and dc2.xsjs (this last one will be our xsjs services files):
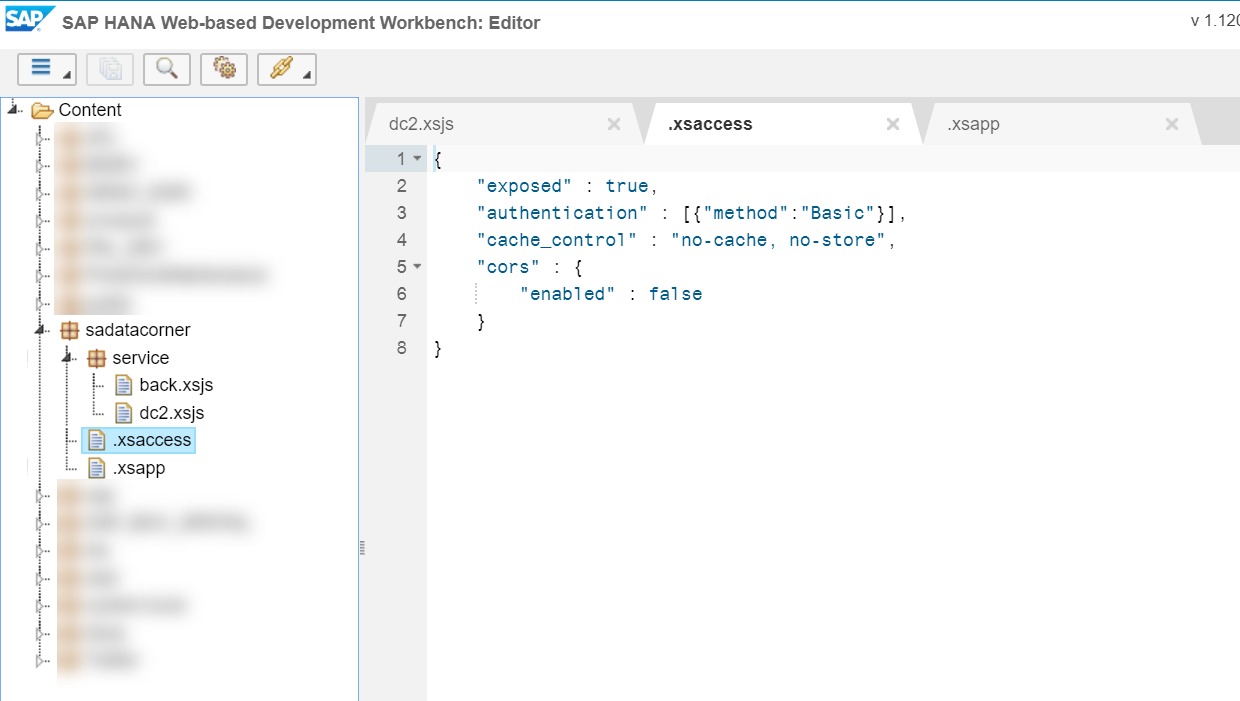
The .xsaccess file is the application access file, and hence is used to control access to the application. In our case, the application is open to the outside with basic authentication.
.xsaccess
{
"exposed" : true,
"authentication" : [{"method":"Basic"}],
"cache_control" : "no-cache, no-store",
"cors" : {
"enabled" : false
}
}
If you want to investigate and create your own .xsaccess file, you can go to help SAP
The .xsapp file is the SAP HANA XS Application description file, it has to be in the same folder as our .xsaccess file but actually has no content. It only contains two brakets :
.xsapp
{}The file dc2.xsjs is the javascript file in which we define our logic. I won’t go in depth to the content of this file, but just to give you in insight. Here I’ve defined two APIs, one for getting the image and the one for getting the employee data.
dc2.xsjs
function getEmpImg(EMPID) {
    var conn = $.db.getConnection();
    try {
        var query = "SELECT \"IMAGE_CONTENT\" FROM \"DEV01\".\"IMAGE_STORE\" WHERE \"IMAGE_NAME\" = (SELECT \"IMAGE_ID\" FROM \"DEV01\".\"EMPLOYEE_STORE\" WHERE \"ID\" = ?)";
        var pstmt = conn.prepareStatement(query);
        pstmt.setInteger(1,parseInt(EMPID,10));
        var rs = pstmt.executeQuery();
        if(rs.next()){
            $.response.headers.set("Content-Disposition", "Content-Disposition: attachment; filename=image.jpg");
            $.response.contentType = 'image/jpg';
            $.response.setBody(rs.getBlob(1));
        }
    } catch (e) {
    }
    conn.close();
}

function getEmpData(EMPID) {
    var conn = $.db.getConnection();
    try {
        var query = "SELECT \* FROM \"DEV01\".\"EMPLOYEE_STORE\" WHERE \"ID\" = ?";
        var pstmt = conn.prepareStatement(query);
        pstmt.setInteger(1,parseInt(EMPID,10));
        var rs = pstmt.executeQuery();
        if(rs.next()){
            $.response.contentType = 'application/json';
            //$.response.setHeader("Content-Type","application/json; charset=UTF-8");
            var body = JSON.stringify({
            nom : rs.getString(4),
            age : rs.getString(6),
            addresse : rs.getString(7),
            departement : rs.getString(8),
            genre : rs.getString(9),
            nationalite : rs.getString(10),
            langueMat : rs.getString(11),
            secLangue : rs.getString(12),
            hobbies : rs.getString(13),
            ResidSecond : rs.getString(14),
            AncienEmp : rs.getString(15),
            EmpAct : rs.getString(16)
            });
            $.response.setBody(body);
        }
    } catch (e) {
    }
    conn.close();
}


function POST() {
  var dJson = JSON.parse($.request.body.asString());
  empName = dJson.queryResult.parameters.Employes;
}

function GET() {
  empName = $.request.parameters.get("Employe");
}

var aCmd = $.request.parameters.get("cmd");
var empId = $.request.parameters.get("empId");
var METHOD = $.request.method;

switch (METHOD) {
  case $.net.http.GET:
    GET();
    break;
  case $.net.http.POST:
    POST();
    break;
}

switch (aCmd) {
    case "getEmpImg":
        getEmpImg(empId);
        break;
    case "getEmpData":
        getEmpData(empId);
        break;
    case "error":
        $.response.status = $.net.http.INTERNAL_SERVER_ERROR;
        $.response.setBody('erreur à afficher');
        break;
    default:
       $.response.status = $.net.http.BAD_REQUEST;
       $.response.setBody('Invalid Command');

}
I’ve simplified this file, you can contact me if you want the full code along with the APIs for Google Dialogflow, I had to do a specific APIs for the Google Home since the JSON response has to be in a specific format that can be interpreted by Google Dialogflow.
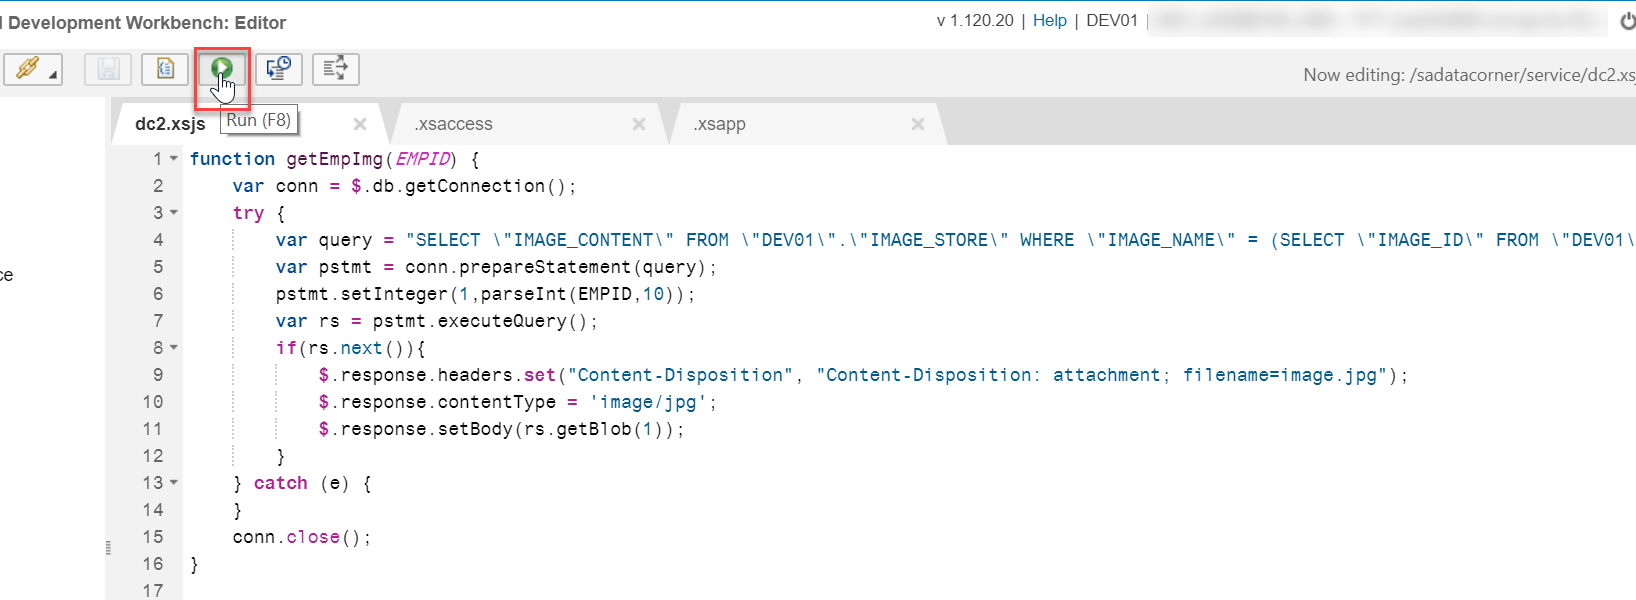
You can test your code by running it directly in the SAP HANA Web-based Development Workbench. You can also test your API in Postman.
Save the root URL of our APIs, we’ll be using it when we define the destination in SCP. When testing it, be careful to add the corresponding command (here getEmpImg) along with the corresponding parameter (empId)
For example, here I’m using /service/dc2.xsjs?cmd=getEmpImg&empId=7
The xsjs service retrieves the data we loaded in the first step of this tutorial from HANA using the getEmpImg API using empId that we used as a primary key for our employees.

Perfect! We’re getting there! 🙂
We will now create the frontend HTML5 application on the SAP Cloud Platform that will consume our APIs.
First we need to add the destination. To simplify things, especially the management of authentication when calling our API, we will define a new destination in SAP Cloud Platform (since we’ve set CORS to false in our .xsaccess application access file, this is actually the only way to allow for calls to our API).
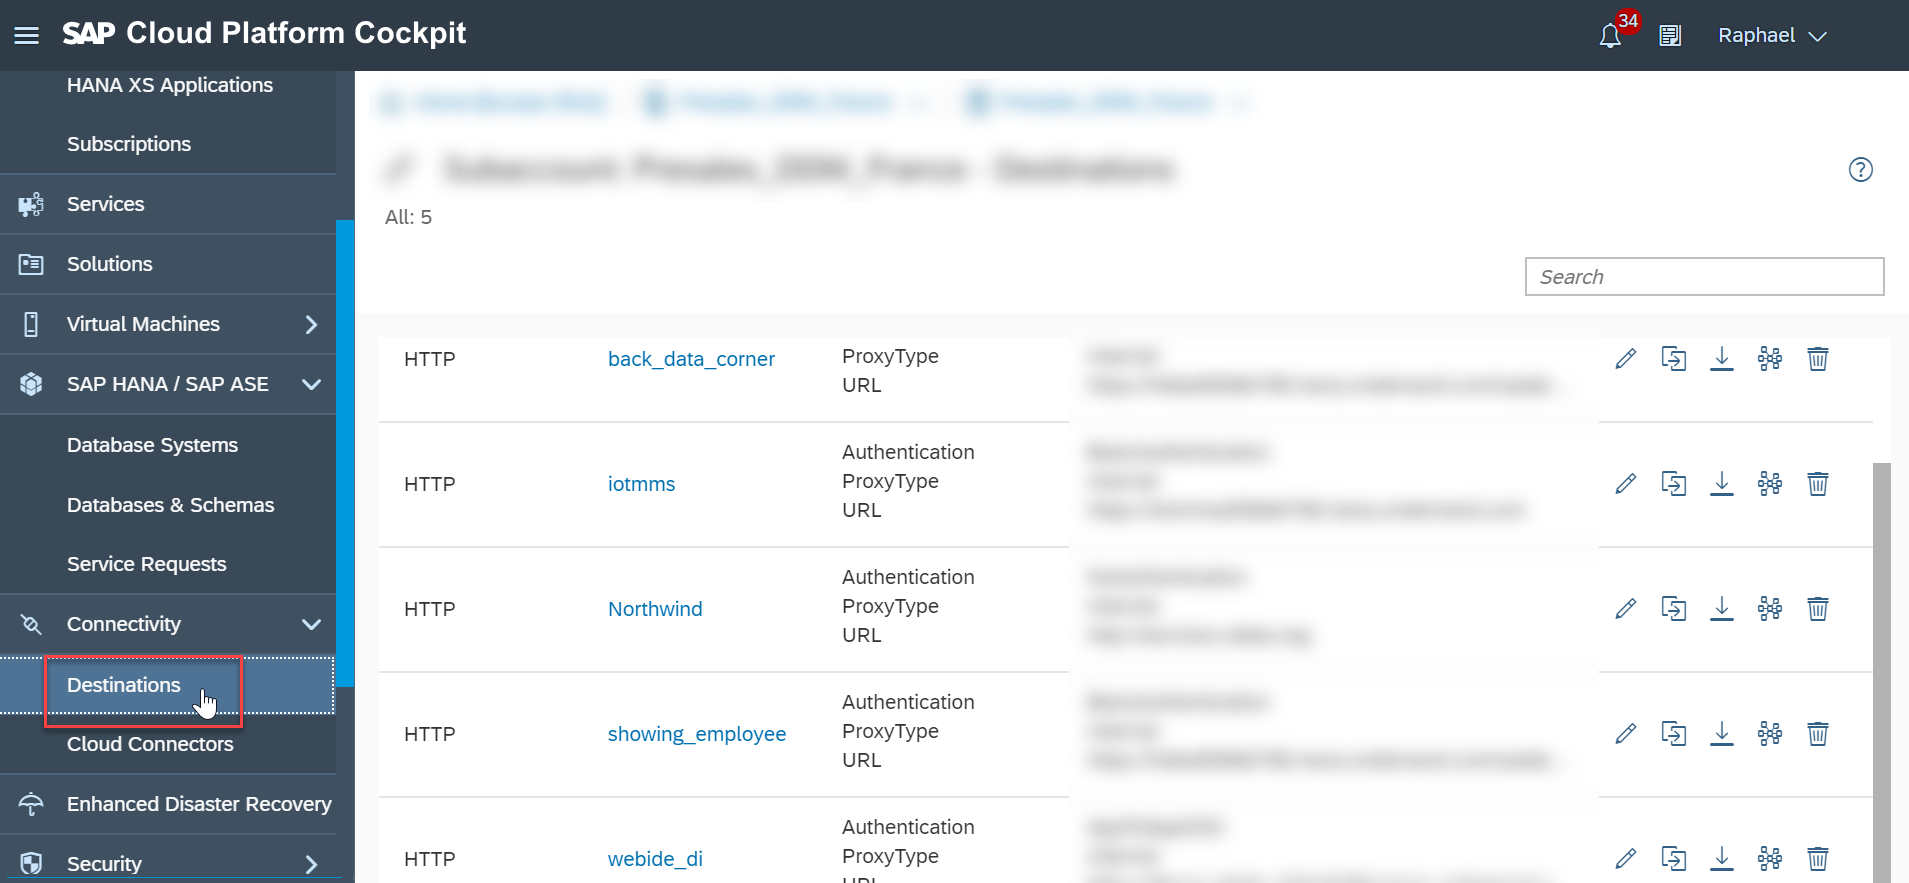
Back in the SAP Cloud Platform Cockpit, click Destination on the Connectivity tab and then on new destination :
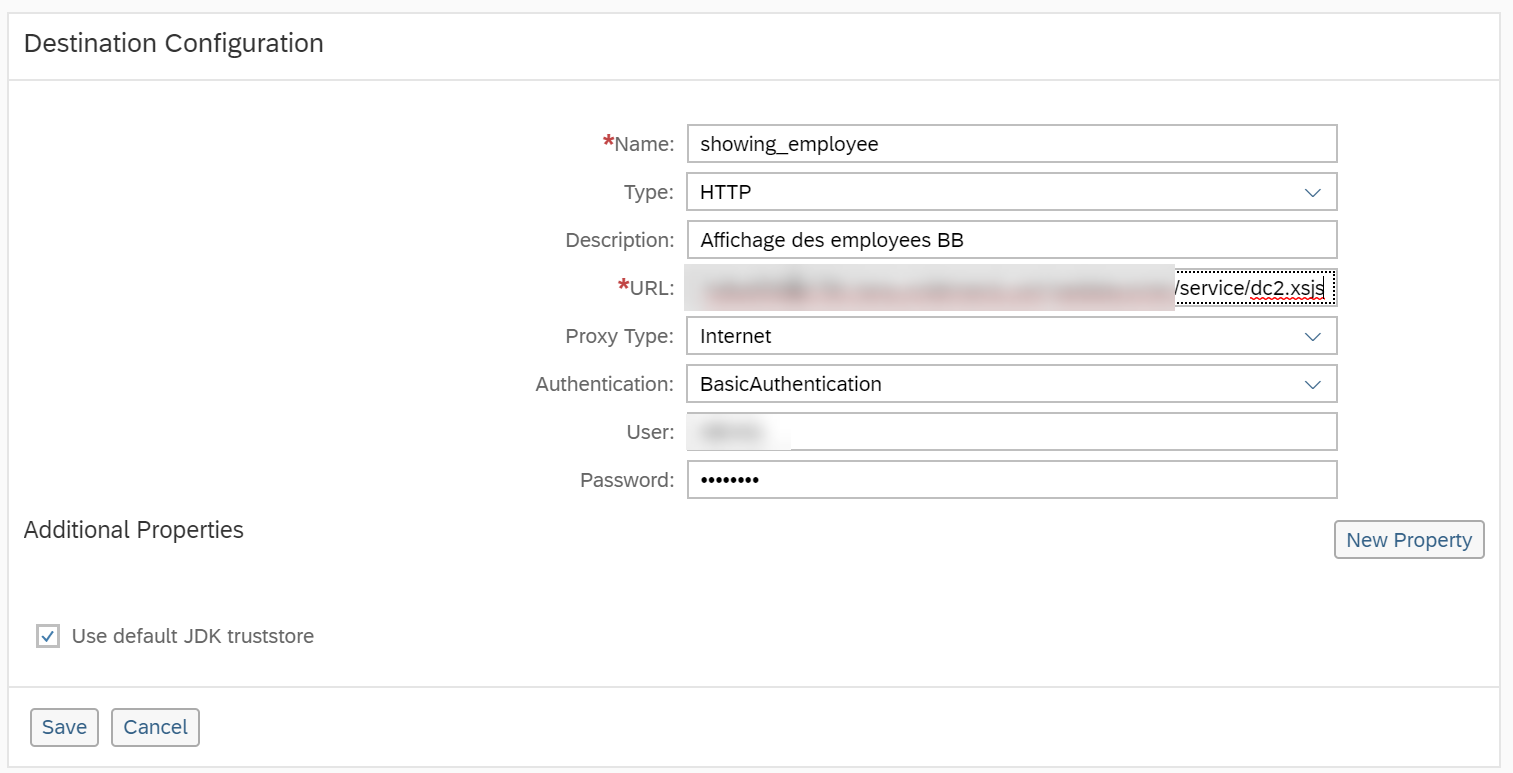
In this case we’re creating the destination “showing_employee”, we set the type to HTTP, give it a description, the URL (corresponding :
Now let’s create the HTML5 application, click on
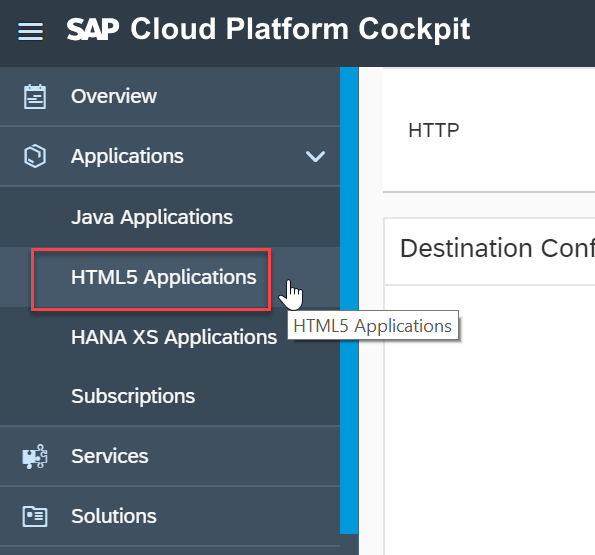
Click on HTML5 applications and then New Applications and give it a name.
The Web IDE will open. In order to correctly define the app and in order to use the destination we’ve set, it is necessary to create a neo-app.json.
You can find all the information in the help sap
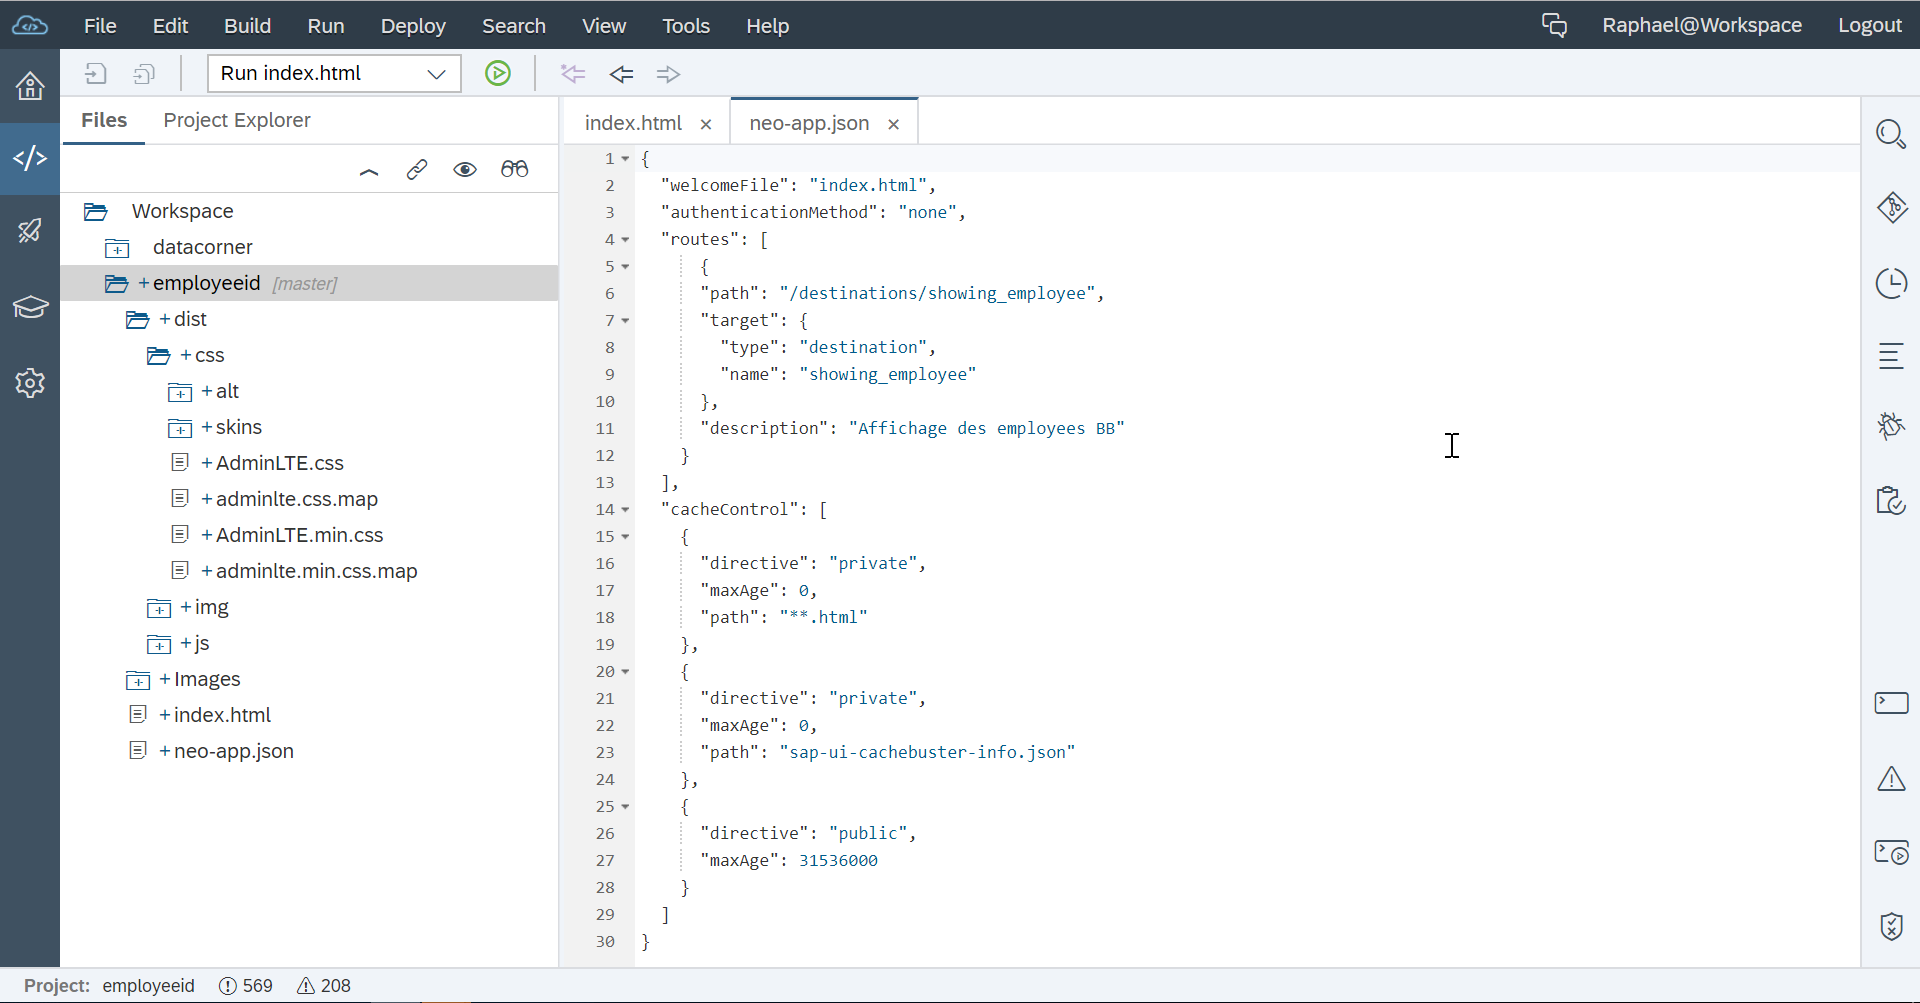
As you can see, in path we are giving the destination name that we create just above.
All that is left for us to do is now to work on the index.html file.
index.html
<!DOCTYPE html>
<html>
<head>
<meta charset="utf-8">
<meta http-equiv="X-UA-Compatible" content="IE=edge">
<title>Employee file</title>
<!-- Tell the browser to be responsive to screen width -->
<meta content="width=device-width, initial-scale=1, maximum-scale=1, user-scalable=no" name="viewport">
<!-- Google Font -->
<link rel="stylesheet" href="https://fonts.googleapis.com/css?family=Source+Sans+Pro:300,400,600,700,300italic,400italic,600italic">
</head>
<body class="hold-transition skin-blue sidebar-mini">
<div class="wrapper">
<header class="main-header">
<!-- Header Navbar: style can be found in header.less -->
<nav class="navbar navbar-static-top">
<!-- Sidebar toggle button-->
<a class="navbar-brand" href="../index.html"><img height="40px" src="Images/logo.png" alt="Logo"></a>
<div class="navbar-custom-menu">
<ul class="nav navbar-nav">
<!-- User Account: style can be found in dropdown.less -->
<li class="dropdown user user-menu">
<a href="#" class="dropdown-toggle" data-toggle="dropdown">
<img src="dist/img/sap.png" alt="SAP Logo">
<span class="hidden-xs">Cloud Platform</span>
</a>
</li>
</ul>
</div>
</nav>
</header>
<!-- Content Wrapper. Contains page content -->
<div class="content-wrapper">
<!-- Content Header (Page header) -->
<section class="content-header">
<h1>
Employee <small>Explorer</small>
</h1>
</section>
<!-- Main content -->
<section class="content">
<!-- Main row -->
<div class="row">
<!-- Left col -->
<section class="col-lg-6 col-md-offset-3">
<!-- Custom tabs (Charts with tabs)-->
<div id="empImage" align="center">
</div>
<div id="empName">
<p> </p>
</div>
<div id="TablEmp">
<table id="t" align="center">
<colgroup>
<col class="w">
<col>
<col>
<col>
<col>
</colgroup>
<thead>
<tr>
<th align="left">Identité<p></p></th>
<th align="left"> | <p></p></th>
<th align="left">Informations personnelles<p></p></th>
<th align="left"> | <p></p></th>
<th align="left">Métier et employeur<p></p></th>
</tr>
</thead>
<tbody>
<tr>
<td id="Nom" valign="top"></td>
<td></td>
<td id="Perso" valign="top"></td>
<td></td>
<td id="Travail" valign="top"></td>
</tr>
</tbody>
<tfoot>
<tr>
<td></td>
<td></td>
<td></td>
<td></td>
<td></td>
</tr>
</tfoot>
</table>
</div>
<!-- /.nav-tabs-custom -->
</section>
<!-- /.Left col -->
<!-- right col (We are only adding the ID to make the widgets sortable)-->
</div>
<!-- /.row (main row) -->
</section>
<!-- /.content -->
</div>
<!-- /.content-wrapper -->
<footer class="main-footer">
<b>SAP Analytics & DDM Team FR</b>
</footer>
</div>
<script type="text/javascript">
var empId = getParameterByName('empId');
var Name = 'destinations/showing_employee?cmd=getName&empId='+empId;
var NameData = 'destinations/showing_employee?cmd=getEmpData&empId='+empId;
document.getElementById("empImage").innerHTML = '<img src="destinations/showing_employee?cmd=getEmpImg&empId='+empId +'" width="128px" height="128">';
loadData(NameData);
function loadData(url) {
var xmlhttp = new XMLHttpRequest();
xmlhttp.withCredentials= true;
xmlhttp.onreadystatechange = function() {
if (this.readyState == 4 && this.status == 200) {
var obj = JSON.parse(this.responseText);
document.getElementById("Perso").innerHTML = "<b>Adresse : </b>" + obj.addresse +
"<p><b>Résidence Secondaire : </b>" + obj.ResidSecond +
"<p><b>Langue Maternelle : </b>" + obj.langueMat +
"<p><b>Seconde Langue : </b>" + obj.secLangue;
document.getElementById("Travail").innerHTML = "<b>Actuellement employé par : </b>" + obj.EmpAct +
"<p><b>Département : </b>" + obj.departement +
"<p><b>Ancien employé de : </b>" + obj.AncienEmp +
"<p><b>Hobby : </b>" + obj.hobbies;
document.getElementById("Nom").innerHTML = "<b>Nom : </b>" + obj.nom +
"<p><b>Nationalité : </b>" + obj.nationalite +
"<p><b>Genre : </b>" + obj.genre +
"<p><b>Age : </b>" + obj.age;
}
};
xmlhttp.open("GET", url, true);
xmlhttp.setRequestHeader('Content-Type', 'application/json')
xmlhttp.send();
}
function getParameterByName(name, url) {
if (!url) url = window.location.href;
name = name.replace(/[\[\]]/g, '\\$&');
var regex = new RegExp('[?&]' + name + '(=([^&#]*)|&|#|$)'),
results = regex.exec(url);
if (!results) return null;
if (!results[2]) return '';
return decodeURIComponent(results[2].replace(/\+/g, ' '));
}
</script>
</body>
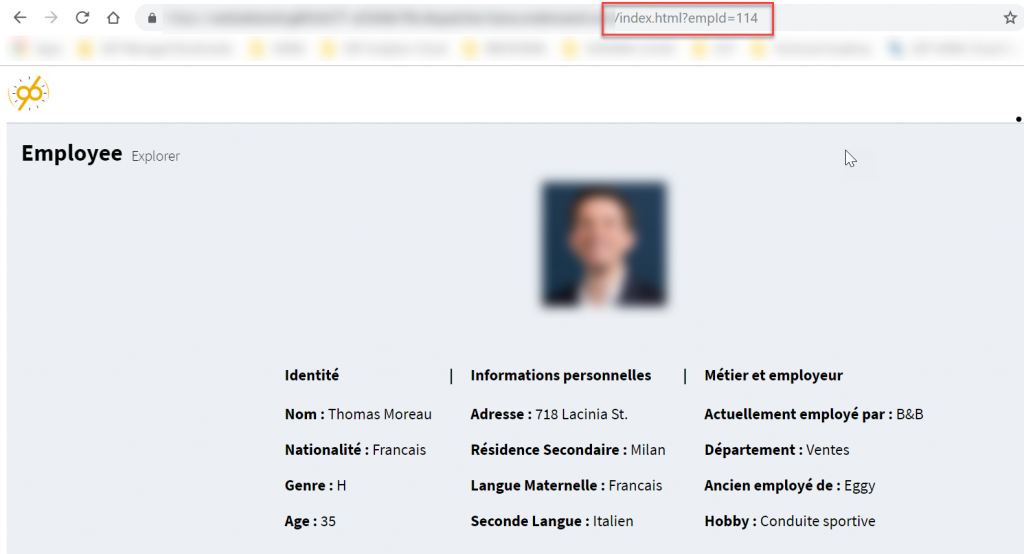
</html>And voilà! 🙂
Just click on the Run and you can test your app
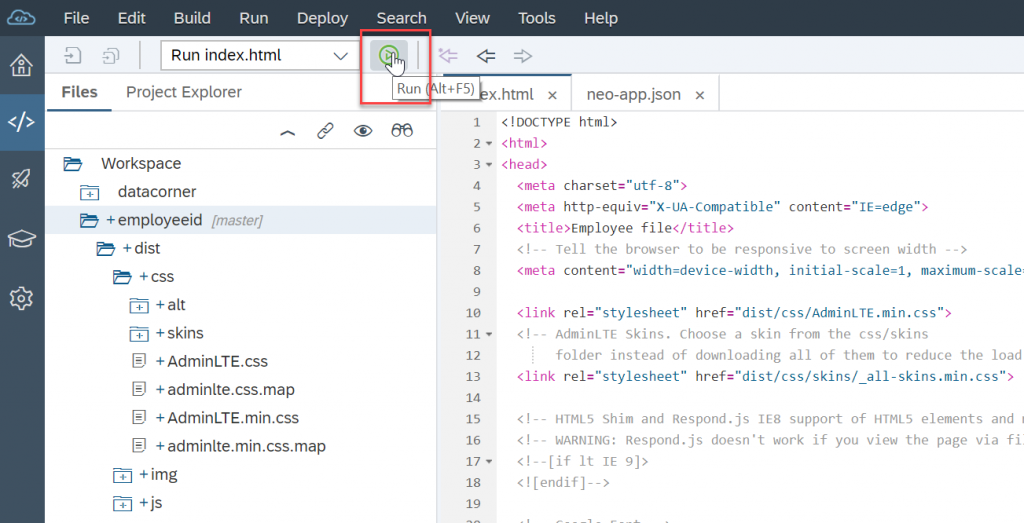
Don’t forget to use pass the parameters after the index.html
Here : “index.html?empId=<id_of_the_employee>”
That’s it for today, I hope you enjoyed this post. Stay tuned for the third and last part where we put these APIs to good use as a callback function inside Google Dialogflow and then create and use an HR chatbot app with Google Assistant!