
In this series of articles and videos, we’ll be creating an HR application from scratch in SAP Cloud Platform. The purpose of this app will be to provide APIs to show either employee information, or an employee’s picture id and also to create an HTML web page on SAP Cloud Platform to show this information. After this, we’ll create a Google Assistant app to create a chatbot in Google Dialogflow using these APIs as callback functions.
Let’s get started! 🙂
In this first step, we will load the data of our employees along with their picture IDs into SAP HANA. In order to do this I’ve inspired myself of the following blog post : https://blogs.sap.com/2014/09/08/sample-java-code-for-loading-files-from-local-machine-to-hana/
We need to create a table for the images. You are free to create your employee table with your own columns, this table will just be for the pictures and we’ll be able to do a join on the primary key. In my case I use IMAGE_NAME as a primary key, since my filenames are 000.jpg, 001.jpg, etc… But you could add a Employee_ID column that you could use to link to your employee information table.
Go to your HANA studio and launch the following SQL in the schema that you want to use. As you can see, we’ll be using a BLOB type column for storing the images.
CREATE COLUMN TABLE “MYSCHEMA”.”IMAGE_STORE”(
“IMAGE_NAME” NVARCHAR(100),
“IMAGE_CONTENT” BLOB MEMORY THRESHOLD 1000,
“GENDER” NVARCHAR(1),
PRIMARY KEY (
“IMAGE_NAME”
)
) UNLOAD PRIORITY 5 AUTO MERGE;
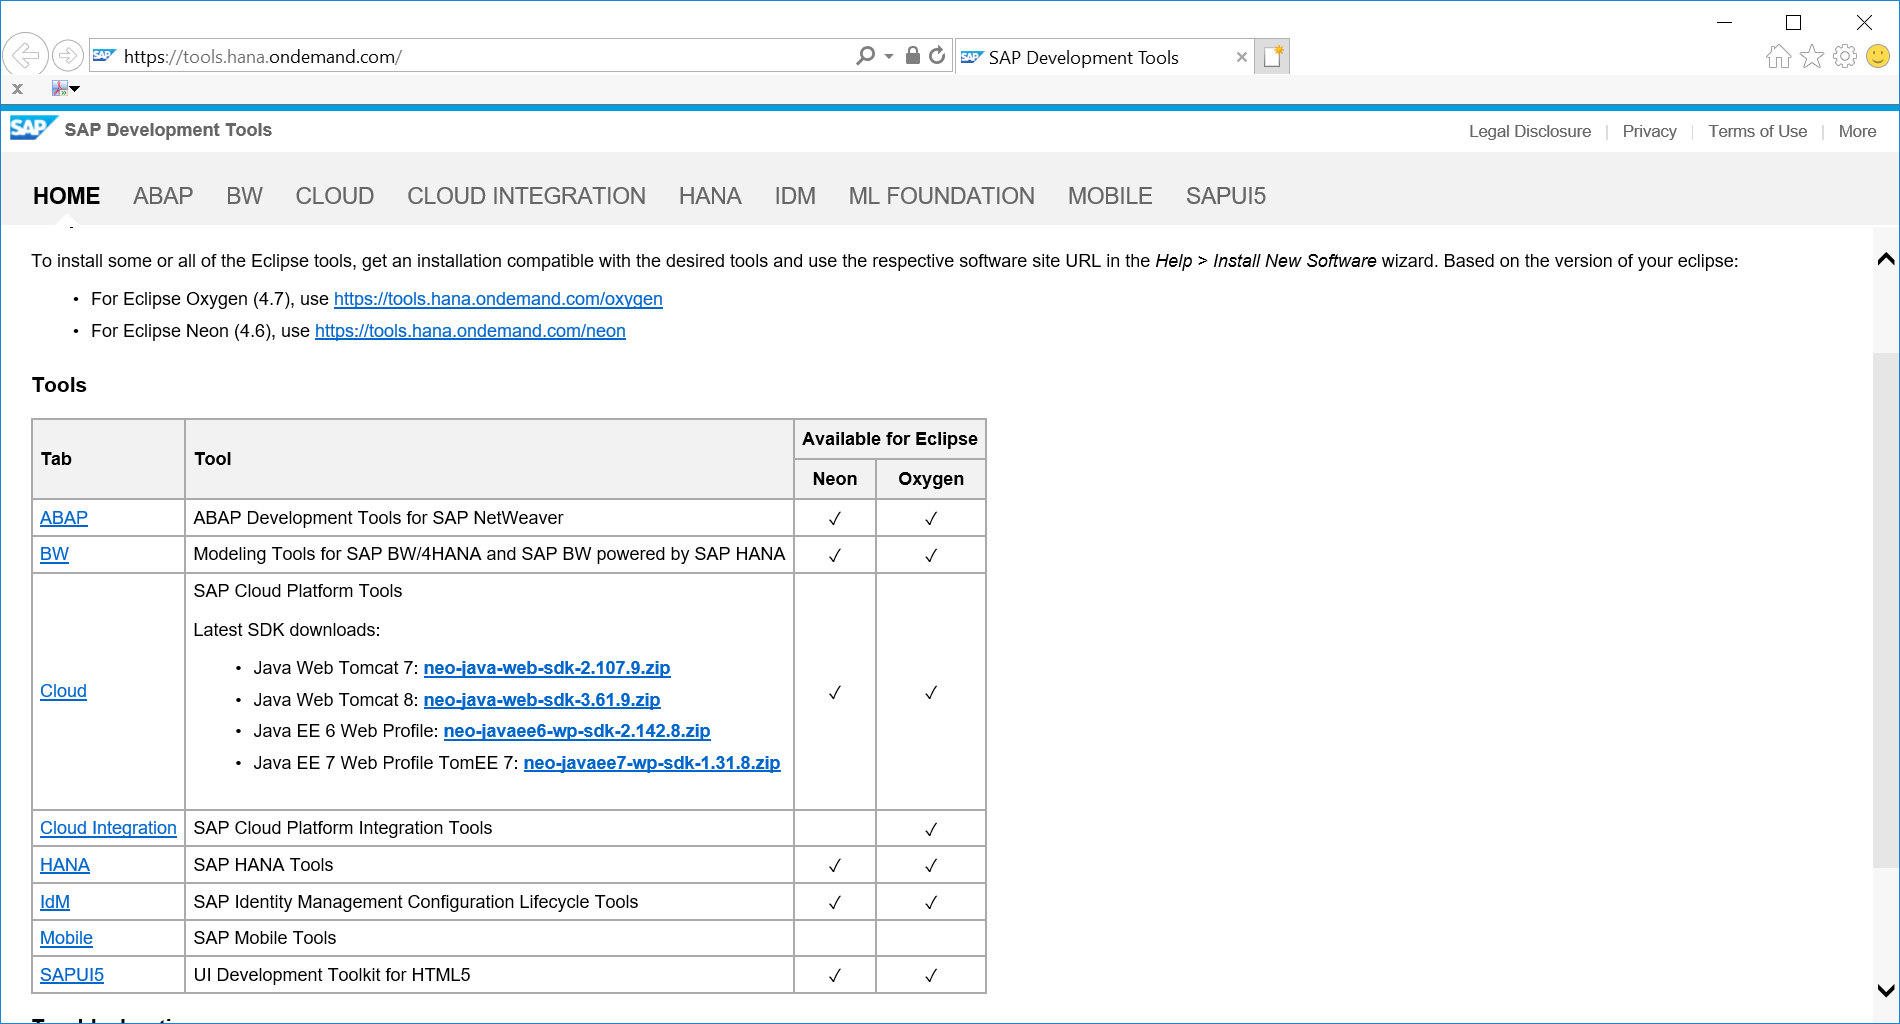
2. Next as we will loading data into HANA in SCP, we need to create a tunnel between our local machine and SAP Cloud Platform. In order to do this go to the SAP Development Tools website SAP Development Tools and download the lastest neo-java-web-sdk. For me, it was neo-java-web-sdk-3.61.9.zip
We’ll unzip the files and then navigate to the folder using command prompt
Run the following command line:
neo open-db-tunnel -h <host_name> -i <instance> -a <account> -u <user>
The host_name, instance, account and user will be provided when you will create your trial account on SAP Cloud Platform.
The script will now ask for you instance password, use the password you defined when creating the trial and then connect the tunnel to your SCP tenant. Enter the password.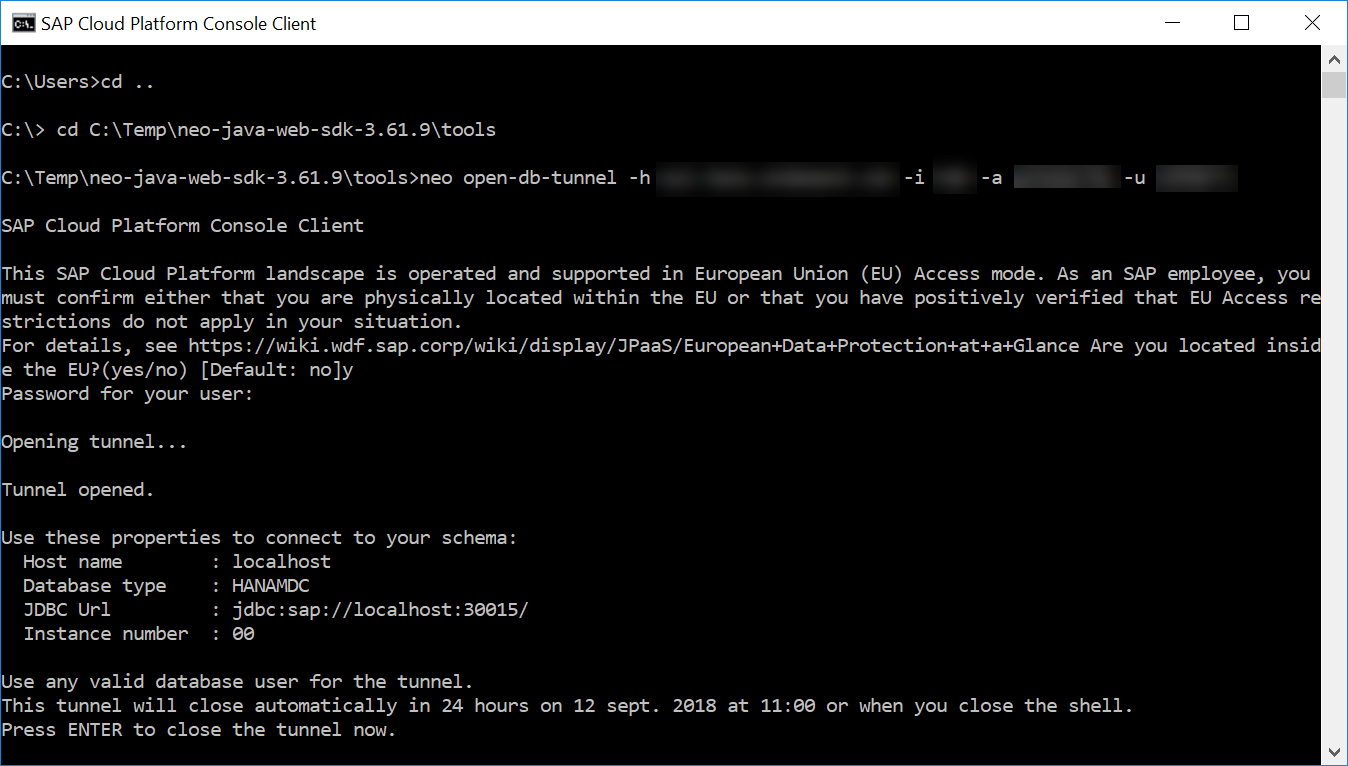 The tunnel will remain open for 24hrs as long as this window is open.
In the java code for loading the pictures, you will see that we’ll be using the jdbc connection here as JDBC URL in the previous screenshot.
3. Now we will create the java applet to load the actual images.
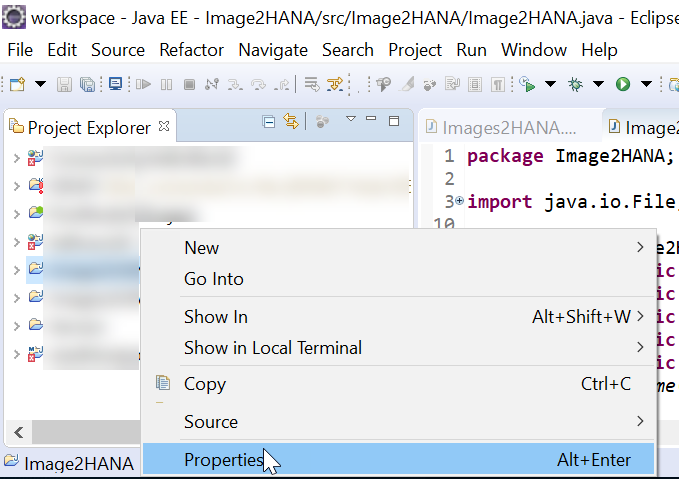
Create a JAVA projet in HANA studio using the JAVA EE Perspective.
Put ‘ngbc.jar’ on your librairies in the Java build path. For this right click your project and select properties.
Then click on Java Build Path, and click on “add external JAR” and add the file location. (Be careful in the screenshot, add JARs is highlighted but it is indeed the one below)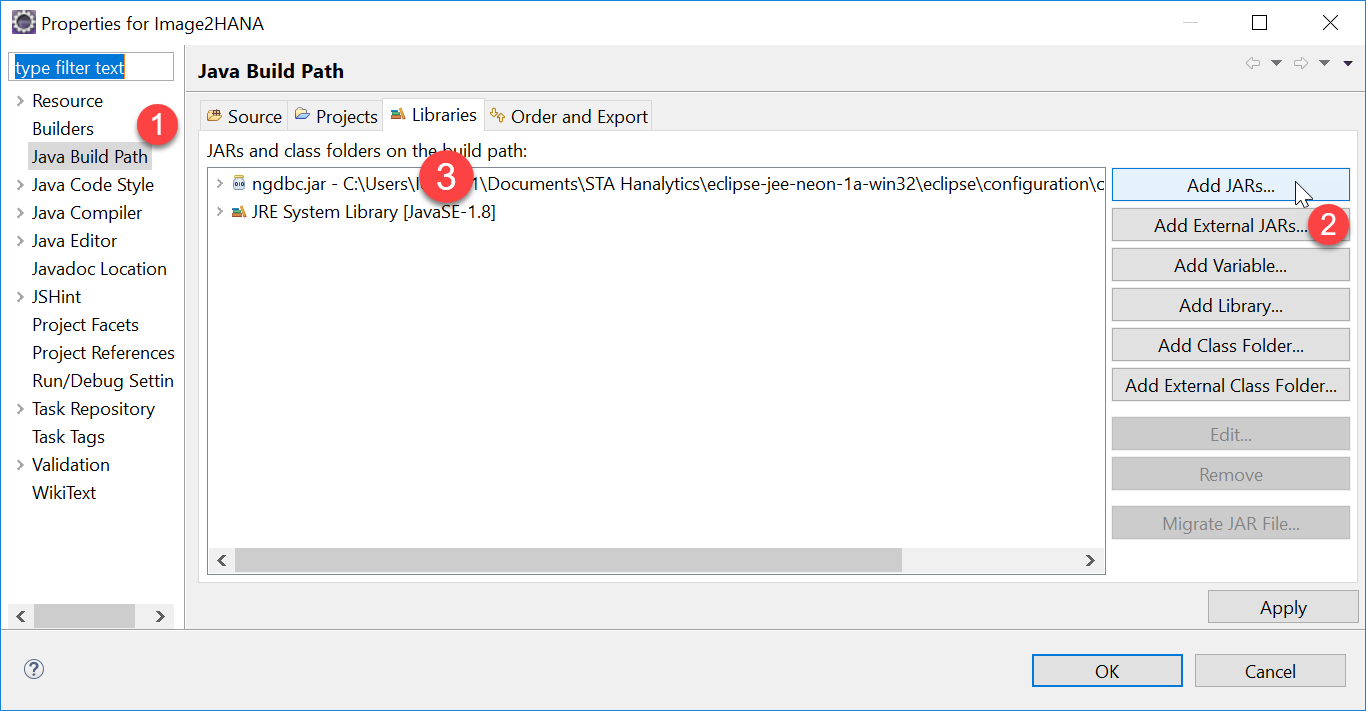
Write the below Java code in HANA Studio in your class file, replacing, of course, the needed information for your hostname, account, etc…
import java.io.File;
import java.io.FileInputStream;
import java.io.IOException;
import java.sql.Connection;
import java.sql.DriverManager;
import java.sql.PreparedStatement;
import java.sql.SQLException;
public class <your_class> {
public static final String hanaURL =”jdbc:sap://<hostname>:3<instance>15//”;
public static final String hanaUser = “<user>“;
public static final String hanaPassword = “<password>“;
public static final String pics = “C:\\<your_pictures_folder>“;
public static void main(String[] args) throws IOException, SQLException, ClassNotFoundException {
Class.forName(“com.sap.db.jdbc.Driver”);
Connection conn = DriverManager.getConnection(hanaURL,hanaUser,hanaPassword); //Open HDB Connection
conn.setAutoCommit(false);
String query = “INSERT INTO \”<your_schema>\”.\”IMAGE_STORE\” VALUES(?,?,?)”;
PreparedStatement pstmt = conn.prepareStatement(query);
File folder = new File(pics);
File[] images = folder.listFiles();
System.out.println(“*****OPENING FILES NOW****”);
try {
if (images != null) {
for (File image : images) {
String imgName = image.getName();
FileInputStream fis = new FileInputStream(image);
pstmt = conn.prepareStatement(query);
String[] parts = imgName.toUpperCase().split(“.jpg”);
String id = parts[0];
pstmt.setInt(1, Integer.parseInt(id));
pstmt.setBinaryStream(2, fis, (int) image.length());
pstmt.setNString(3, “M”);
pstmt.executeUpdate();
conn.commit();
System.out.println(imgName + ” image upload to HANA successful”);
}
}
} catch (Exception e) {
e.printStackTrace();
}
}
}
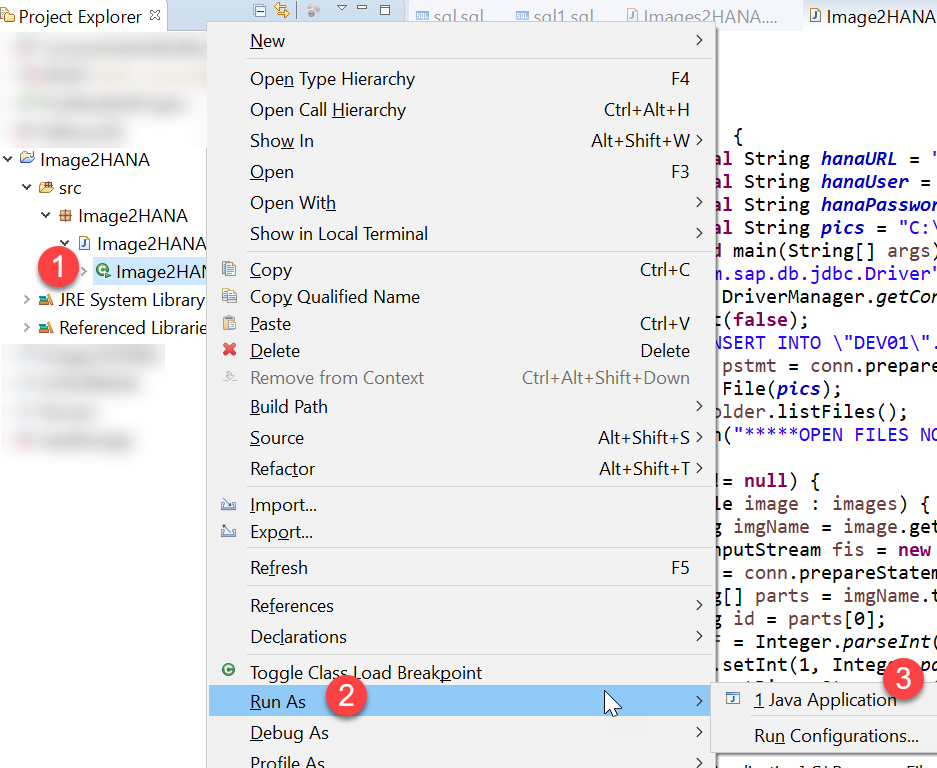
Now run your code and load the data.
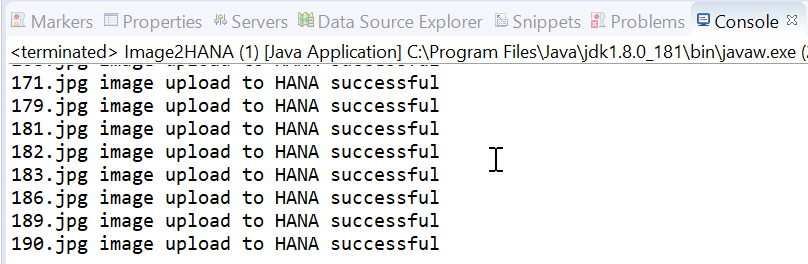
The images are loaded if everything runs out correctly!
In the next step we are going to create an XSJS service to view these employees pictures in a file. XSJS will give us more flexibility than an oData service.
Stay tuned! 🙂